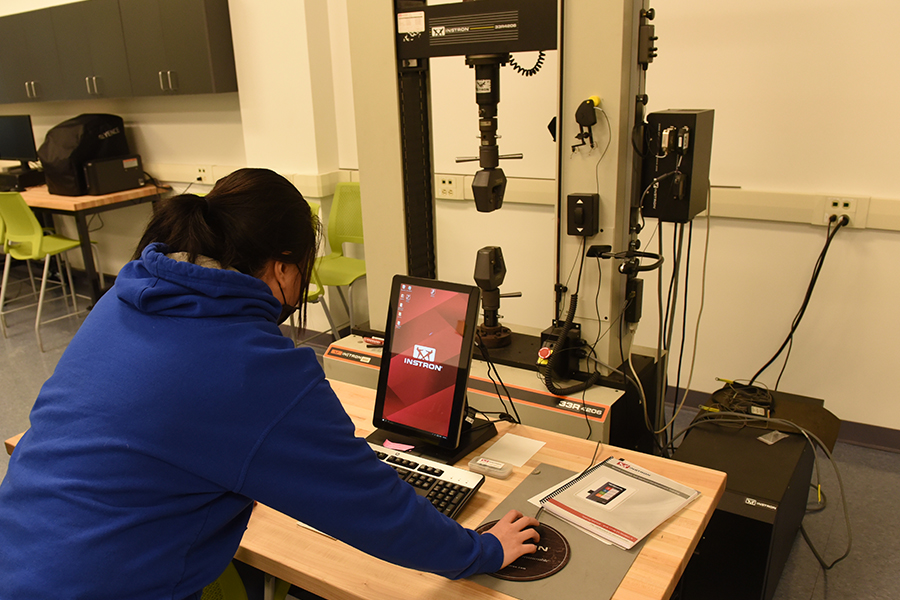
Student is using the Instron Static Tester to test tensile, compression and flexure. This tool demonstrates how mechanical stress is applied to different materials and their subsequent response.
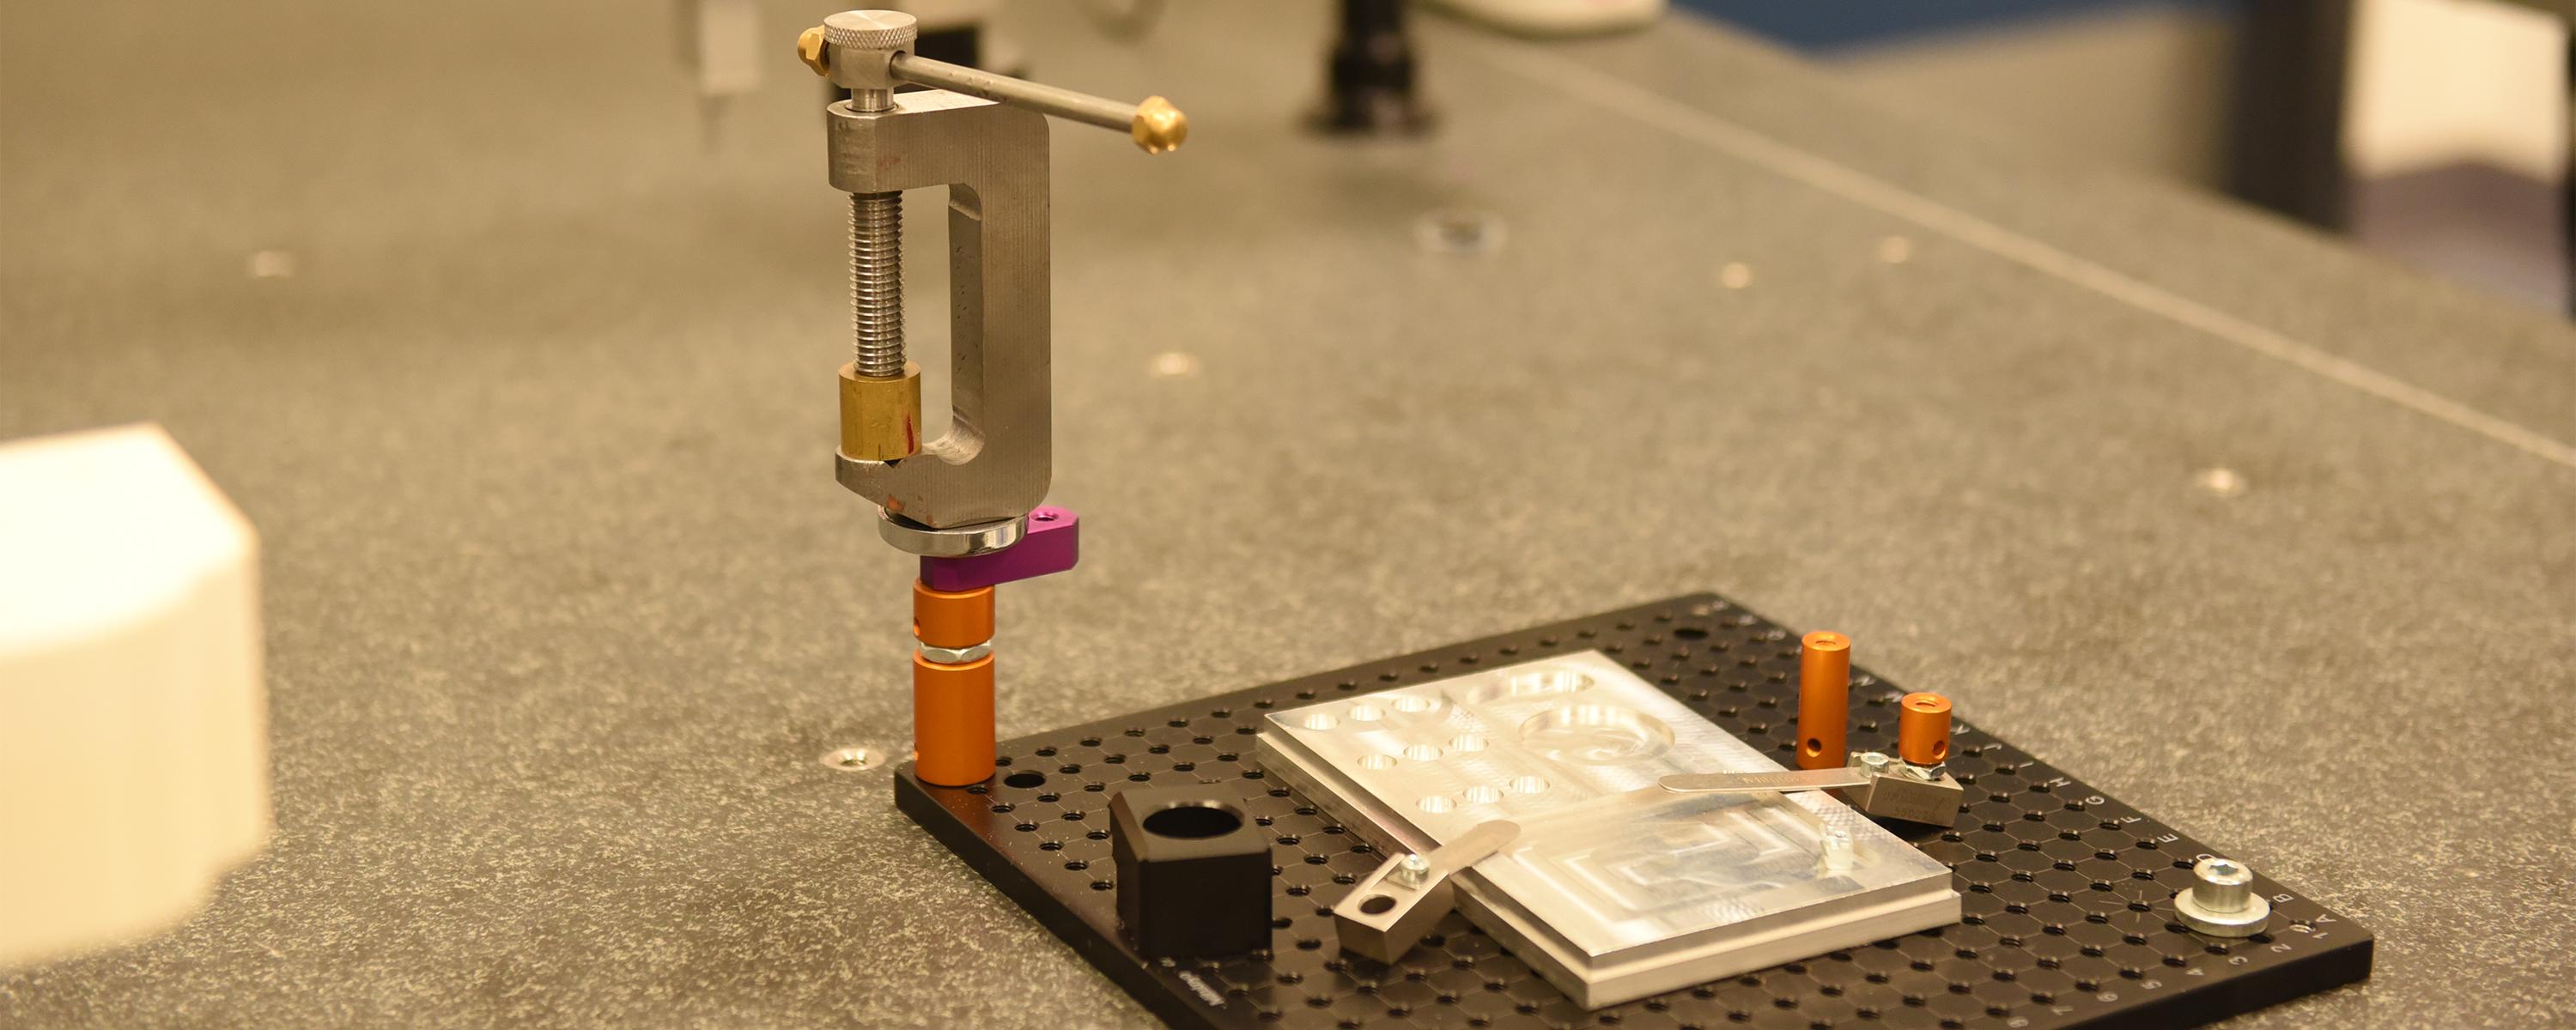
In the Scanning, Measurement and Testing Lab, students and collaborative teams can complete physical/optical measurements as well as perform both static and dynamic tests on designed components. Fabricated components can also be scanned and measured with the Mitutoyo Coordinate Measuring Machine.
The Measuring Lab consists of six different machines:
A probe machine made to measure in high performance and accuracy. Features on the CMM include:
- Automatic probe-switching
- Surface roughness measurement
- Measurements using a vision probe
- Manual & CNC functionality
The main 3 tests that are done with the Instron include tensile, compression, and flexure tests. They demonstrate how mechanical stress is applied to different materials and their subsequent response.
Able to indicate the hardness of a material by using an indenter and determining the depth of penetration of the indenter under a known load.
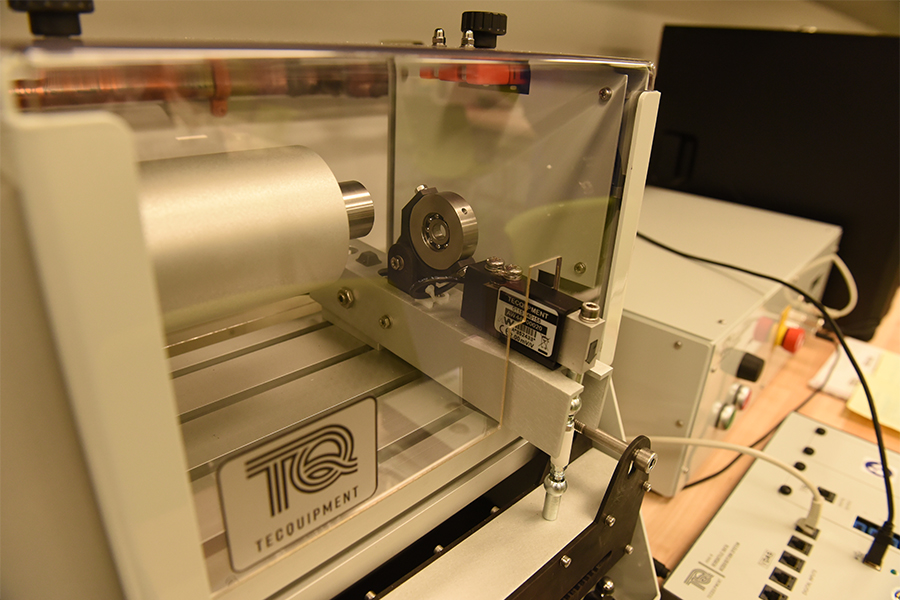
Demonstrates the fatigue failure of materials when subject to alternating stresses. It uses a motor to rotate a circular cantilever specimen with a load at its free end.
A bench mounted machine that can perform torsion tests with a strain head on one end and a torque reaction and measurement machine on the other end. The machine is modified with a motor and belt system that will automatically turn the gearbox to apply torque.
A high-quality microscope that has XYZ functions and visualize subtle surface irregularities at low magnification.

The Tecquipment Rotating Fatigue Testing Machine demonstrates the fatigue failure of material when subject to alternating rotating stresses.


